
How Do I Light a Patio and Garden Without Glare?
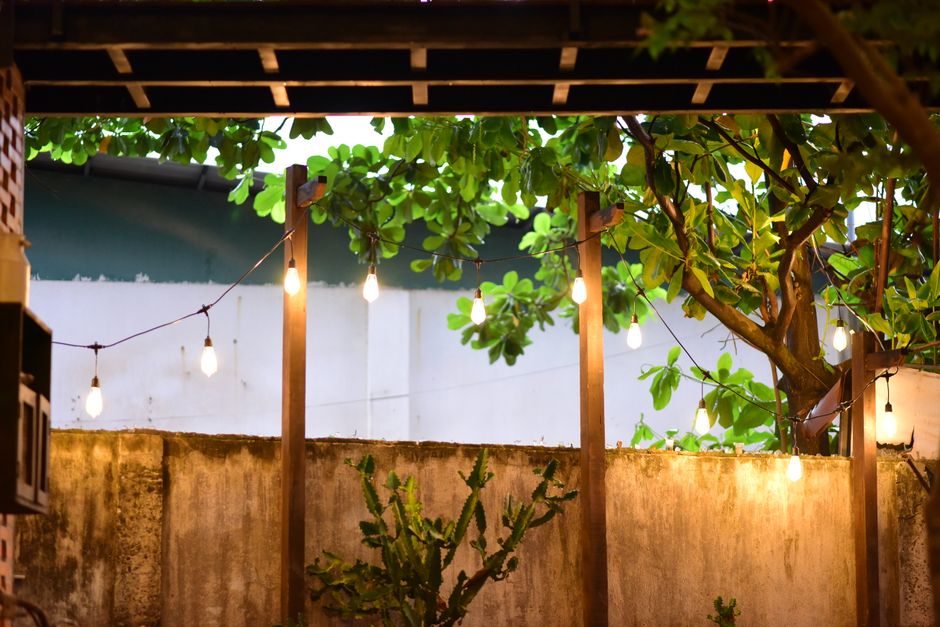
Light a patio and garden in layers: use low, shielded path or step lights for footing, dimmable task light for seating and dining, and a few carefully aimed accents for plants or trees. Choose warm LEDs, keep the source out of eye level, and put every layer on a timer, dimmer, or motion control. The goal is useful pools of light, not a bright outdoor runway.
That sequence matters. Start with the route people walk, then the place where they sit, then the features worth noticing. Reversing it produces the usual problem: a dramatic garden with dark steps and a patio bright enough to flatten the evening.
How many landscape lights do I need for a garden path?
You need enough path lights to make the walking route and changes in level legible, not enough to light the whole garden edge-to-edge. Treat each fixture as a directional cue: it should show the next safe piece of ground, then hand the eye to the next pool of light.
The Louisiana State University AgCenter notes that path lights project downward and cover a smaller area, which makes them suited to pedestrian guidance without flooding the landscape. Step lights belong on stair risers to illuminate treads; under-cap hardscape lights can light below while staying discreet. That gives you a clean division of labor: path lights guide, step lights identify level changes, and neither has to perform as general-area lighting.
Use this placement brief before choosing a fixture: “Light the surface people use. Hide the source from the person using it.” The National Park Service recommends recessed, fully shielded fixtures whose light source is not visible at eye level and whose output is directed down onto the task area.
| Area | Primary lighting job | Best layer to start with |
|---|---|---|
| Garden path | Show the walking surface | Low, downward-projecting path lights |
| Stairs or level changes | Reveal each tread | Step lights on risers or discreet under-cap lights |
| Patio table or food-prep area | Support a specific task | Shielded, dimmable task lighting |
| Specimen plant or focal tree | Create depth and emphasis | One aimed, shielded accent light |
Do not turn fixture count into a decorating contest. DarkSky International’s operating rule is sharper: light should have a clear purpose, go only where needed, and be no brighter than necessary. If a light does not improve footing, a task, or a chosen focal point, leave it out.
Should I choose solar or low-voltage garden lighting?
Choose low-voltage lighting when you want a system that is easier to move and customize; choose solar standalone fixtures where wiring is undesirable or impractical. LSU AgCenter states that typical home electrical systems run at 120 volts, while common residential landscape fixtures run at 12 volts, and describes 12-volt systems as easier to customize and less expensive than 120-volt residential systems.
Make the decision by control, not by novelty. A solar fixture is a standalone answer for an isolated spot where you do not want wiring. A low-voltage system is the more coherent answer when several path, step, patio, and accent fixtures need to work as one plan. Line-voltage is the 120-volt option; LSU’s guidance is that this is unnecessarily high for a residential landscape when common 12-volt fixtures meet the need.
LEDs fit either route. LSU AgCenter says they cost more initially but use drastically less energy and last longer than incandescent, halogen, and fluorescent options. The practical move is to spend the planning effort on aiming and controls, because a long-lived light pointed at a neighbor’s window remains a long-lived mistake.
For a warm, wildlife-conscious specification, use 2700 K or lower. The National Park Service says 2700 K can provide good color rendering with fewer unintended impacts, while 2200 K or direct amber may fit sensitive environments. The U.S. Fish & Wildlife Service also recommends warmer LEDs below 2700 K and wavelengths above 560 nm for wildlife-conscious outdoor lighting.
For the surrounding landscape, build the lighting plan alongside the planting plan. This guide to creating a low-maintenance front-yard landscaping plan can help establish the paths, beds, and focal areas before fixture locations become fixed.
How do I light patio seating without making it too bright?
Light patio seating with a dimmable, shielded task layer at the table or food-prep point, then let the rest of the patio stay comparatively dark. The seating area needs enough light for its job; it does not need uniform brightness from fence to fence.
Use the three-layer check. First, footing: light the route to the patio and any steps. Second, task: add controlled light where people eat, serve food, or need to see. Third, depth: use a limited number of accents on planting or a focal tree beyond the seating area. This prevents the common failure mode where every fixture is asked to do every job.
Weak instruction: “Make the patio brighter.” Strong instruction: “Make the table usable, keep the light source out of seated eye lines, and leave the boundary darker.” That version lowers cognitive load for anyone installing or adjusting the system because it names the surface, the glare constraint, and the stopping point.
The NPS warns that increasing output does not necessarily make a nighttime setting safer; it can reduce visibility through glare. Globe or diffuser fixtures that hang below the housing are especially poor choices because they emit substantial upward light and glare. DarkSky’s residential guidelines set a maximum of 1,000 lumens for approved residential luminaires, limit light above the horizontal plane to 50 lumens, and require products over 500 lumens to be capable of dimming to 10% or less of full output.
Controls are the final layer. Put nonessential lighting on timers, motion detectors, or dimmers, as both the NPS and U.S. Fish & Wildlife Service recommend. During April-May and August-October, reduce or turn off nonessential lights, especially on cloudy nights: the Fish & Wildlife Service reports that night-migrating birds can be attracted to lighting from as far as 5 kilometers away.
A short setup drill before you buy
Walk the space after dark and name only three outcomes: the route people take, the task they perform, and the feature you want them to notice. Then assign one fixture type to each outcome. If two lights perform the same job, remove one from the plan before it becomes an overlit runway.
Next, check every proposed fixture from the seated position and from the property boundary. Ask: “Can the source be seen, or only the surface it is meant to light?” If the source is visible, lower it, shield it, re-aim it, dim it, or replace it. That is the small drill to run this week.
Frequently Asked Questions
Where should uplights and path lights be placed in a garden?
Place path lights low beside the walking route so they direct light down onto the ground rather than across the garden. Aim uplights only at selected plants or trees, keep the fixture shielded from normal sightlines, and make sure no light is emitted above the horizontal plane. A focal light should reveal one feature, not compete with every other fixture.
What color temperature is best for outdoor garden lighting?
Warm light is the practical default: the National Park Service identifies 2700 K as a useful LED option with good color rendering and fewer unintended impacts. For more sensitive settings, 2200 K or direct amber may be more appropriate. The U.S. Fish & Wildlife Service recommends warmer LEDs below 2700 K for wildlife-conscious lighting.
How can I avoid shining outdoor lights into neighbors' windows?
Choose recessed or fully shielded fixtures, keep them low, and aim light down onto the task area. Do not use exposed globe or diffuser fixtures that send light upward and outward. Timers, dimmers, and motion controls also prevent a light from operating at full brightness when nobody needs it.
Sources
- U.S. National Park Service: Outdoor Lighting Principles
- U.S. Fish & Wildlife Service: Threats to Birds From Collisions and Nighttime Lighting
- U.S. Fish & Wildlife Service: Dim the Lights for Pollinators and Plants at Night
- Louisiana State University AgCenter: Landscape Lighting
- DarkSky International: DarkSky Approved Luminaires Guidelines